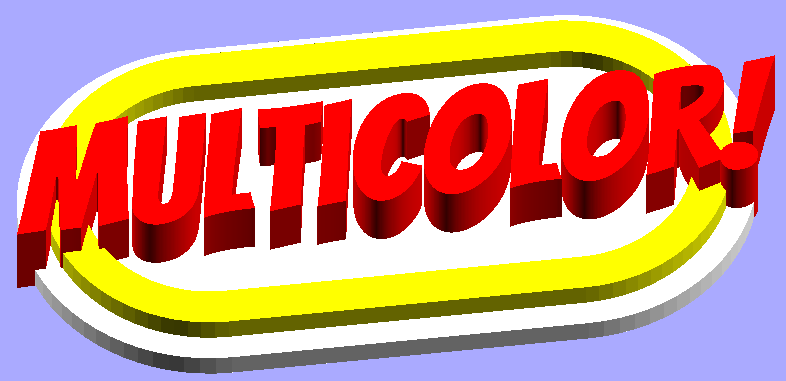
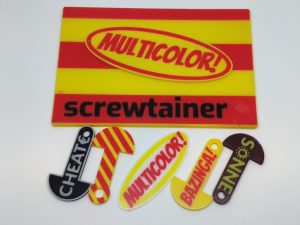
This customizable thing / SCad file allows you to create almost any kind of signs/name plates etc.
Link to Thinigverse
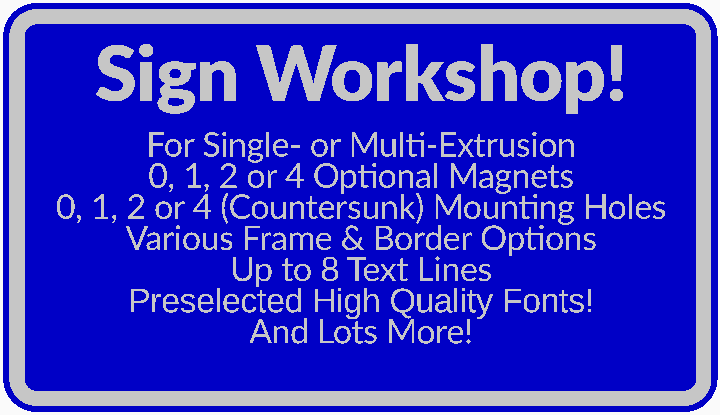
Main Features:
- Optimized for
- Single Extrusion (one color) printers
- Multi Extrusion (multi color) printers (e.g. MMU / MMU2 /etc.)
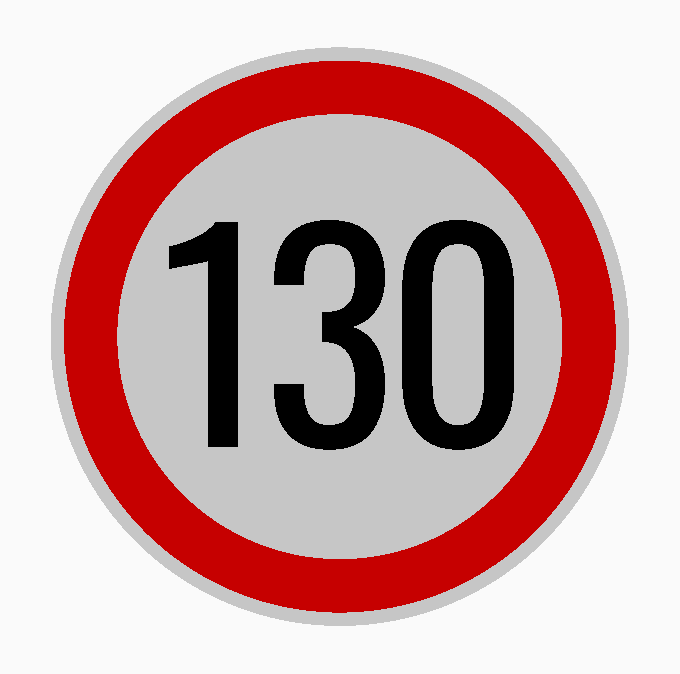
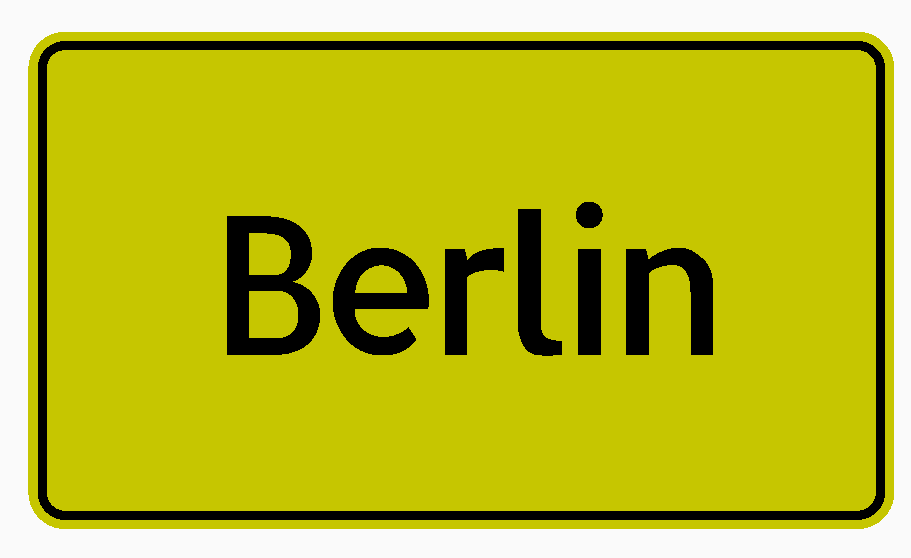
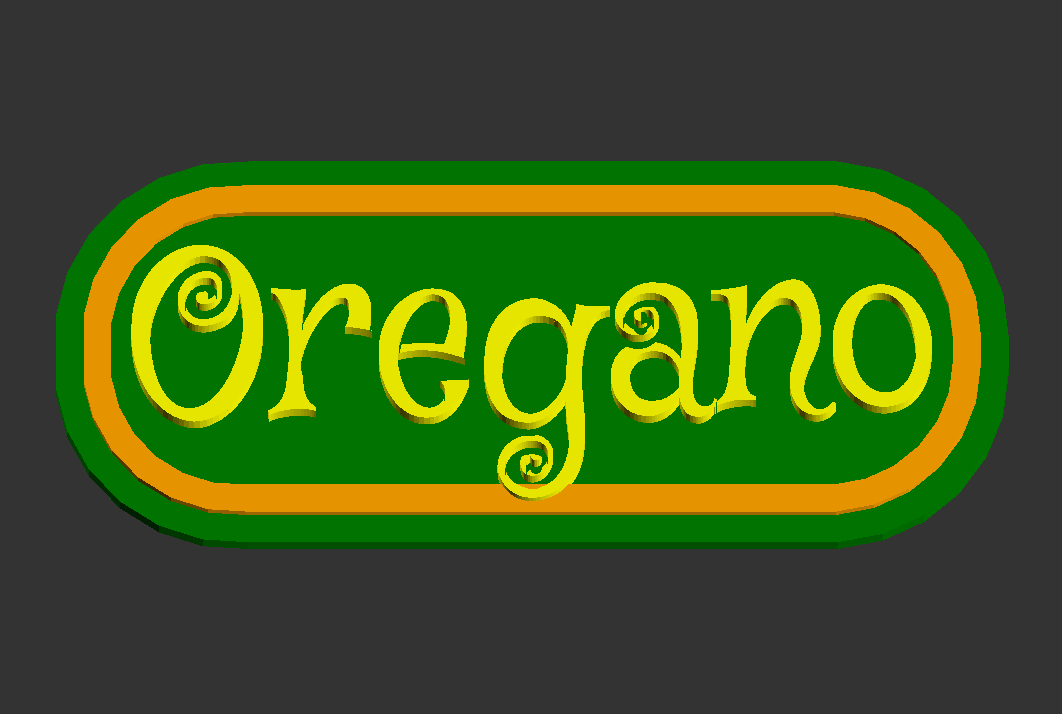
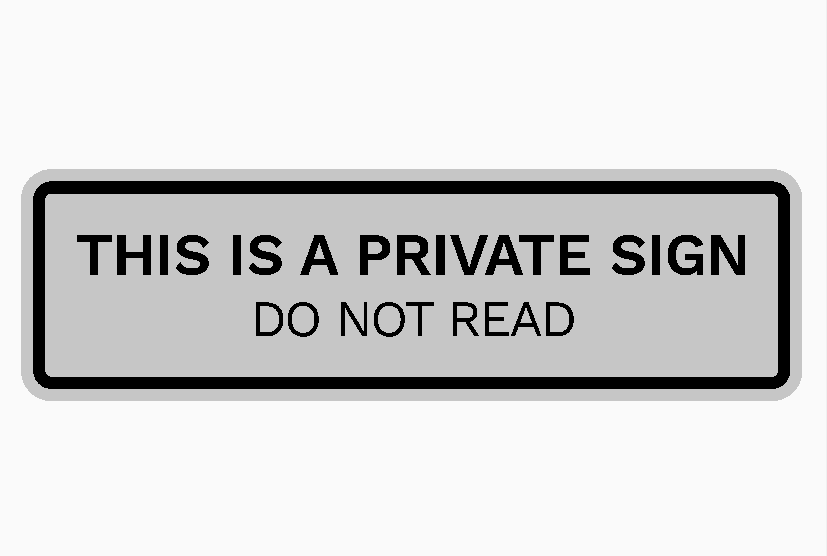
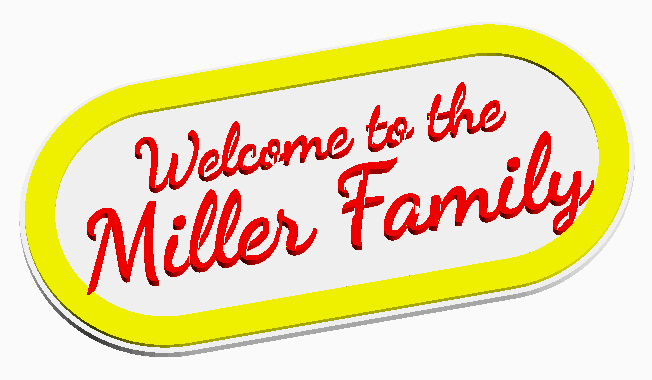
- Various Frame Type
- (rounded) rectangular. from standard signs to oval or circle shapes
- Multigon shapes
- Triangle/Pentagon,Hexagon,Octagon
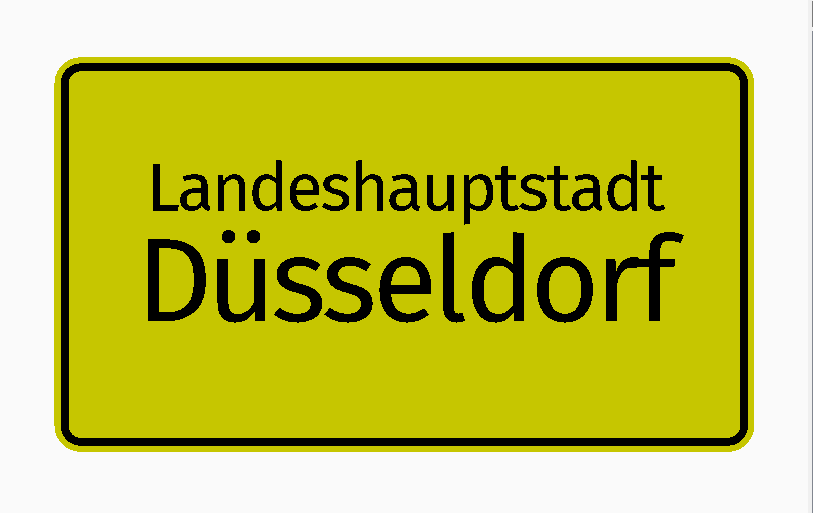
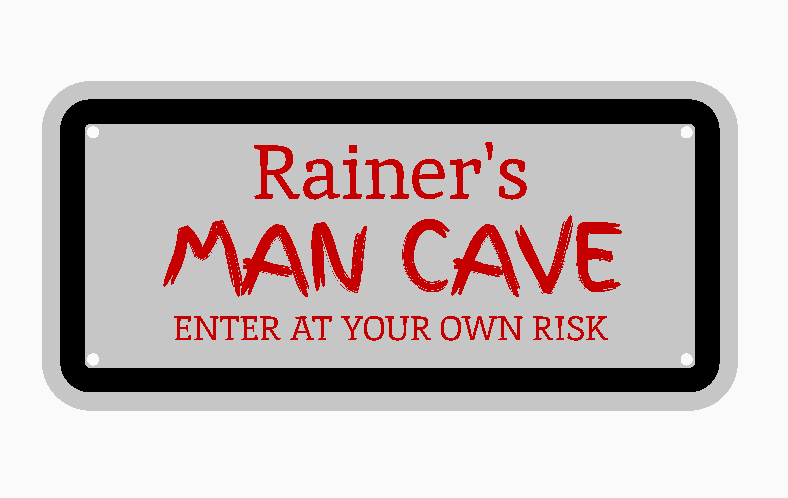
- up to 8 Text Lines
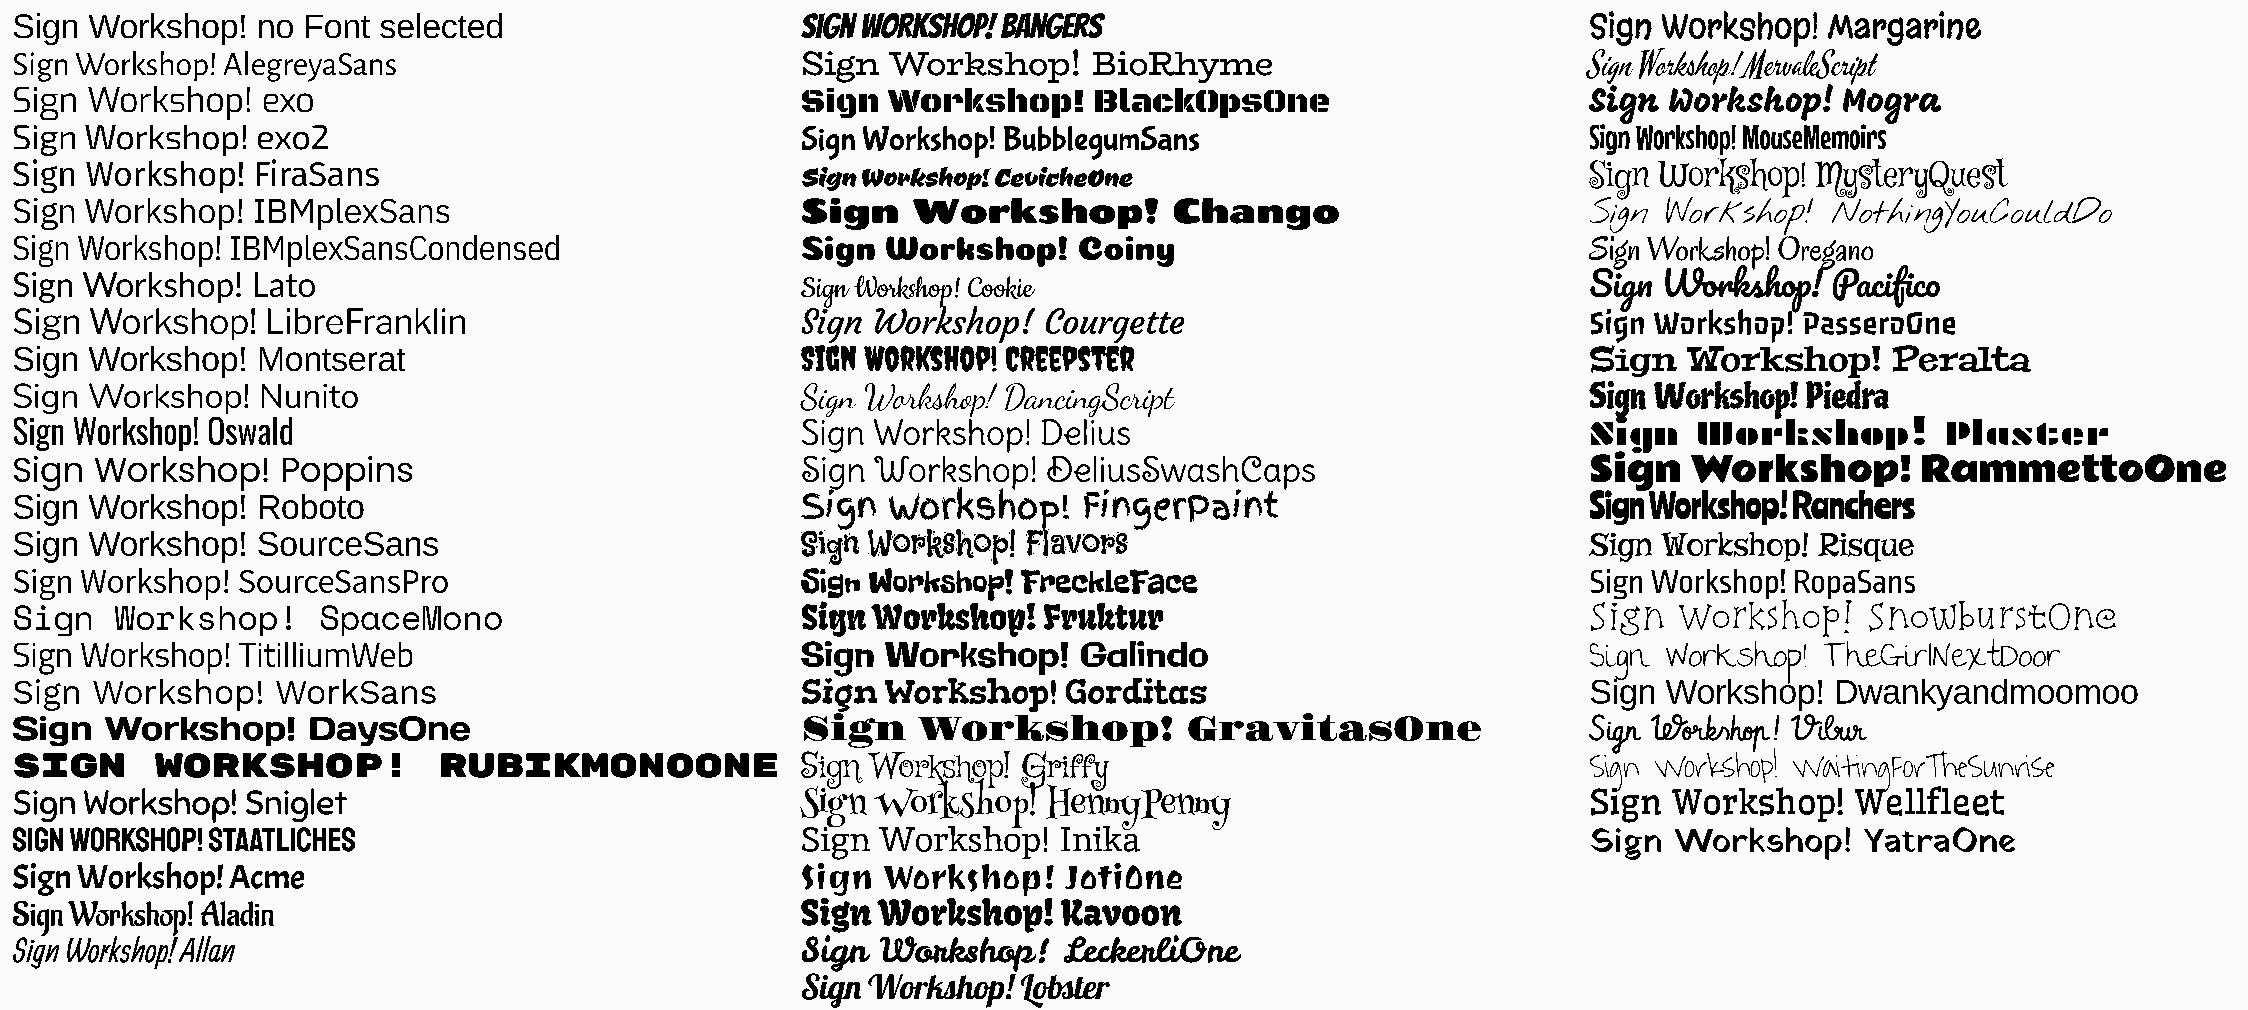
- many carefully pre-selected high quality Fonts
- Various Font Styles, adjustable Line & Character Spacing
- positioned freely
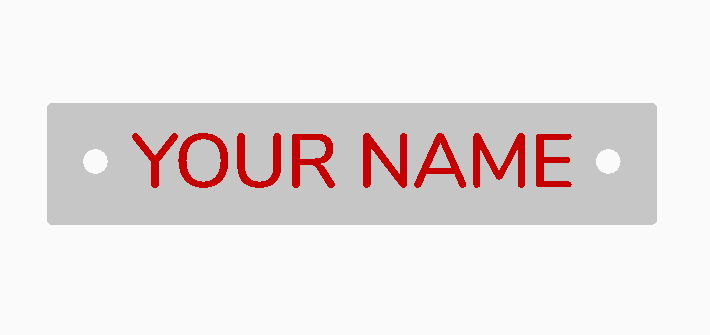
- Mounting Options
- 0,1,2 or 4 Magnet Holes for any round cylindrical Magnets
- 0,1,2 or 4 Screw Holes which can be optionally be created countersunk.
- Extruded or Flat Text & Border
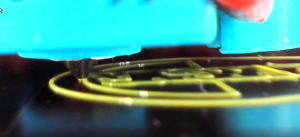
How to use it with my Multi color printing technique
It is also ideal to create Multi-color STL files for the Single Extruder color printing technique i wrote about earlier: Link
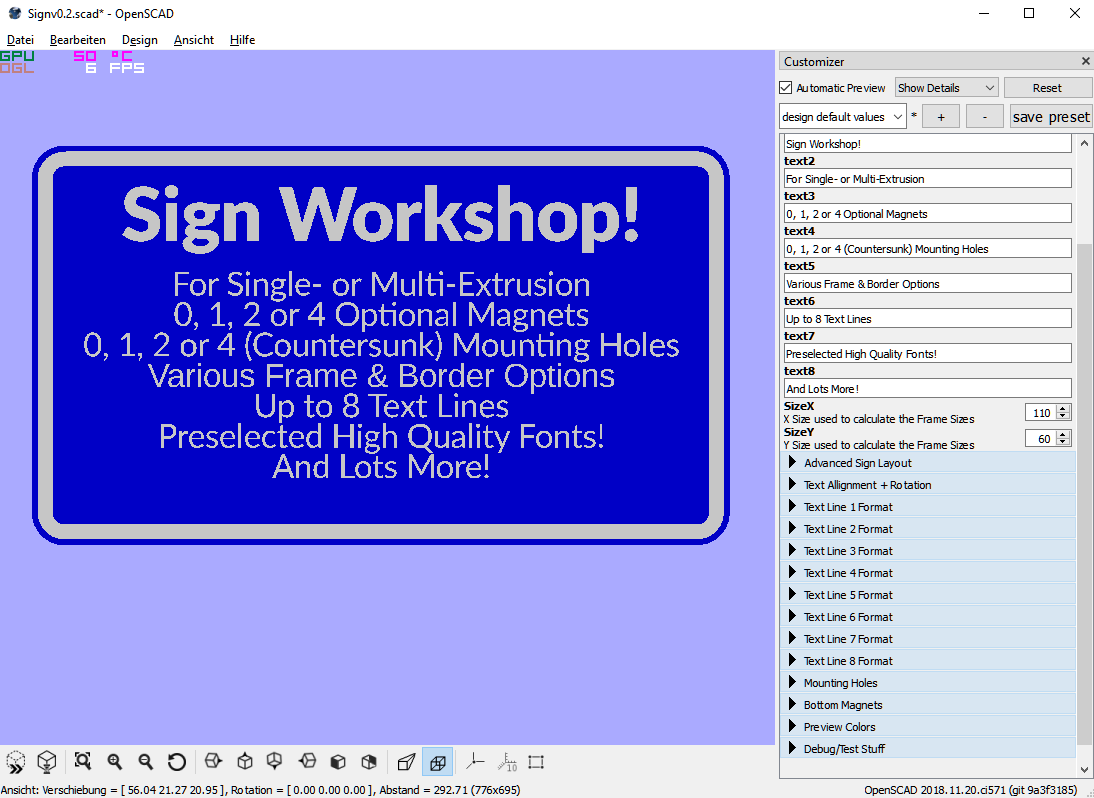
If you want to print this using a multi color enabled printer, these are the parameters you should adjust:
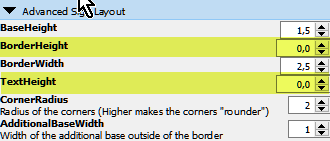
In the “Advanced Sign Layout” section the Border & Text Height define how high those elements are above the top surface. So by setting these to “0” the sign will have a flat surface , but still contains all the colored elements.
Exporting the STL files for Multi color printing
For “real” Multi-Color printing you need a separate STL file for each color in your print. This SCad file has been created in a way that these can be created quite easily:
The parameter “part” on the top of the parameter list can be set to these values:
- “Full Preview or Single Material Printer”
- This option creates a full preview image and can be used if you use a single material printer or the Prusa Color change” method to add filament changes base on layer height
- “Base”
- This option will create just the base and this should be rendered / exported as an STL if you plan to use it for a multi-color enabled printer (or my multi color printing method described in another blog post)
- “Border”
- This option will create just the border and this should be rendered / exported as an STL if you plan to use it for a multi-color enabled printer (or my multi color printing method described in another blog post)
- “Text”
- This option will create just the text and this should be rendered / exported as an STL if you plan to use it for a multi-color enabled printer (or my multi color printing method described in another blog post)
So, just create 3 STL files for Base, Border and Text and you should be ready to slice it.